How to Tie a Loop
Loop knots have gotten a surprisingly bad reputation for being complicated, with all the climbing and sailing terminology flying around in most guides. As someone who learned knot-tying on a dock with a length of nylon rope and a lot of trial and error, I can tell you that the fundamentals are actually straightforward once someone walks you through them clearly. Today, I’ll share the most practical loops you’ll actually use — and how to tie each one right.
Bowline Knot
The Bowline is the knot most people mean when they say “reliable loop.” It creates a fixed loop at the end of a rope that won’t tighten under load, and — crucially — it’s still easy to untie after being stressed. Sailors, rescue workers, and campers have been using this knot for centuries for good reason.
- Create a small loop in the rope, leaving enough working end on both sides to complete the knot.
- Pass the working end through the loop from underneath — the old mnemonic is “the rabbit comes up through the hole.”
- Bring the working end around the standing part of the rope from behind.
- Thread the working end back down through the original loop.
- Pull on the standing part while holding the working end to tighten.
The Bowline is the right choice for rescue situations, securing objects to fixed points, or any time you need a non-slip loop that holds its size under load.
Figure Eight Loop
The Figure Eight Loop is what climbers use for a reason: it’s strong, visually identifiable (making it easy to verify before trusting your life to it), and doesn’t jam the way some other knots do under heavy load.
- Make a Figure Eight with the rope, creating a twist and bringing the working end down through the initial loop.
- Pass the working end back up into the new loop you just formed.
- Follow the path of the original Figure Eight with the working end, threading it alongside the existing strands.
- Pull both ends to tighten.
Efficient and strong, the Figure Eight is less prone to jamming than many alternatives. It’s the standard for rope-to-harness connections in climbing and equally useful in any scenario where you need a secure, inspectable loop.
Double Overhand Knot
The Double Overhand is a stopper knot — its job is to prevent a rope end from passing through a hole or ferrule, or to keep a line from unraveling further. It’s not elegant, but it’s reliable and fast to tie.
- Form a standard overhand knot: create a loop and pass the working end through it once.
- Instead of tightening, wrap the working end around the loop a second time.
- Thread the working end back through the larger loop created by that second wrap.
- Pull both ends to tighten.
This knot is simple to tie and easy to undo when needed. The double wrap gives it more bulk than a single overhand, which is the point — you want it to catch and hold where you place it.
Slip Knot
The Slip Knot is quick to tie, easily adjustable, and intentionally temporary. Pull one end and it releases. That’s either its greatest feature or its greatest flaw, depending on the application — don’t use it anywhere you need permanent holding strength.
- Create a loop, then bring a section of the working end back through that loop as a bight.
- Hold the bight and pull on the working end to tighten the knot around it.
- The result is an adjustable loop — pulling the bight releases the entire thing.
Slip knots are practical for gardening, temporary bundling, package tying, and any task where you need to adjust or release quickly. They’re not appropriate for load-bearing applications.
Perfection Loop
Probably should have led with this one if you’re a fisherman. The Perfection Loop — also called the Angler’s Loop — creates a compact, strong, fixed loop that stays in line with the rope or leader. It’s the standard for attaching a loop-to-loop connection in fly fishing, and it holds up well under the repeated stress of casting and fighting fish.
- Create a twist in the rope with a small loop on top.
- Bring the working end behind the standing part and tuck it within the first loop.
- Pull rope through to form a second loop while maintaining the orientation of the first.
- Pass the working end through the second loop once more.
- Pull tight by drawing the standing end while holding the loop in place.
This knot maintains its strength and alignment under load, which is exactly what you need when connecting a leader to a fly line or a hook to a tippet.
Butterfly Loop
The Alpine Butterfly is a midline loop — meaning it’s tied in the middle of a rope rather than at the end. That makes it useful in climbing and rescue scenarios where you need to attach a piece of gear to a rope at a fixed point, or isolate a damaged section of rope by routing load through the loop instead.
- Lay the rope across your open hand or on a flat surface.
- Make two loops around your hand.
- Pull the second loop behind and over the first.
- Adjust the loops so they rest over one another properly.
- Pass the second loop under the standing lines and thread it through the original two loops.
- Tighten by pulling the standing line in both directions while holding the new loop.
The Butterfly holds up to multi-directional loading, which is what makes it valuable in mountaineering and rescue work where forces don’t always come from predictable angles.
How to Choose the Right Knot for the Job
Here’s a quick reference when you’re deciding which loop to use:
- Bowline Knot: Strong fixed loop, doesn’t slip under load, easy to undo even after stress. General-purpose rescue and securing.
- Figure Eight Knot: Identifiable and secure, preferred for climbing and rappelling, less likely to jam.
- Double Overhand Knot: Simple stopper, fast to tie, keeps rope ends from pulling through.
- Slip Knot: Quick and adjustable, appropriate only for temporary non-load-bearing applications.
- Perfection Loop: Compact and reliable, the right choice for fishing connections and leader loops.
- Butterfly Knot: Reliable midline loop for multi-directional loads, standard for climbing and rescue.
The thing is, knowing which knot is correct on paper is different from being able to tie it under pressure — wet hands, low light, cold morning. That gap closes only with repetition.
Practical Applications of Loop Knots
Beyond the technical aspects, loop knots show up everywhere once you start paying attention.
Household Use: Securing luggage straps, bundling garden hoses, tying tarps down over a woodpile. A Bowline or Slip Knot handles most of this without much thought.
Outdoor Adventures: Hiking, camping, and climbing all depend on reliable knots at some point. The Figure Eight is the standard for climbing attachment. The Bowline is a classic camping utility knot that handles everything from hanging a bear bag to securing a tarp ridgeline.
Boating: Sailing conditions are wet and often windy, and the knots you tie need to hold under those conditions while still being releasable when you need them. Perfection Loops and Bowlines both earn their keep on a boat.
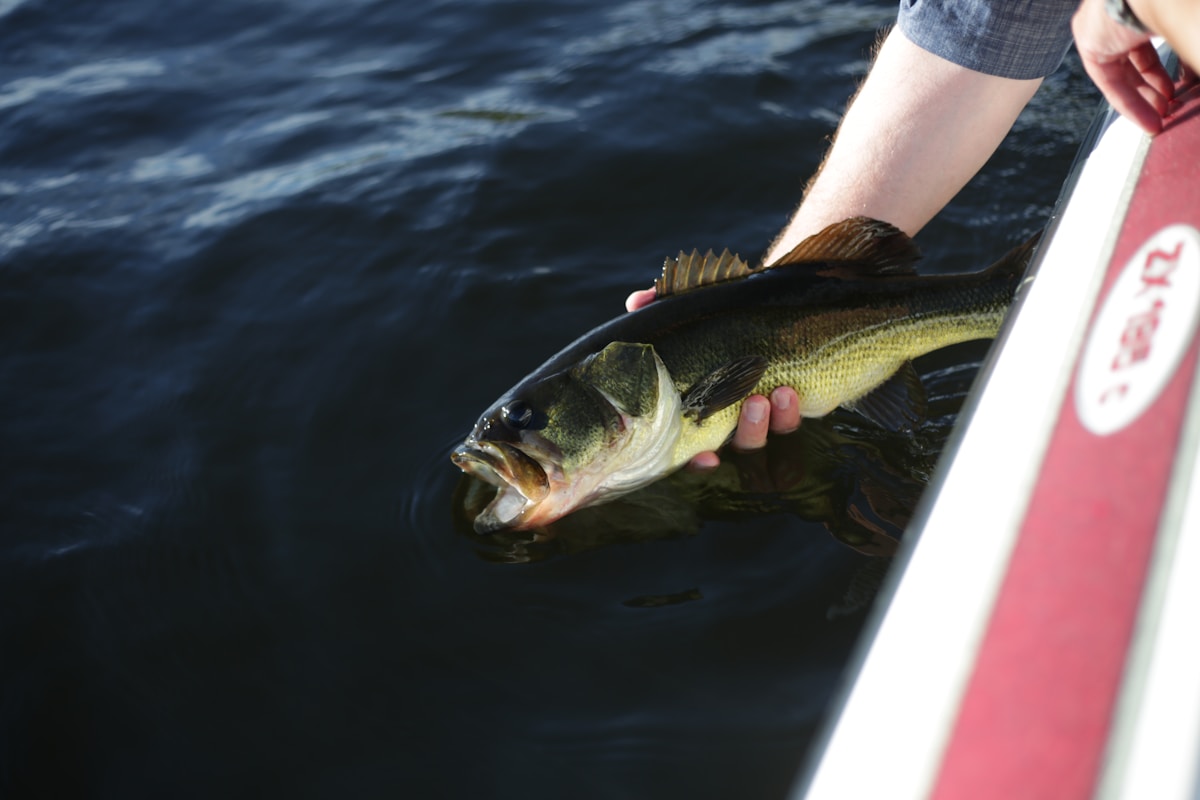
Fishing: For anglers, the Perfection Loop and similar fixed loops are how you connect leader sections, attach flies, and build loop-to-loop systems that can be changed quickly streamside. A good fishing knot is the difference between landing a fish and watching it disappear with your fly.
Emergency Services: Search and rescue teams rely on knots that perform correctly every time under load and sometimes under stress. The Butterfly Loop and Figure Eight are workhorses in that context for exactly that reason.
Tips for Mastering Loop Knots
Developing real knot-tying competence takes practice, but there are approaches that accelerate it considerably:
- Start with thick rope — it’s easier to see what’s happening and easier to correct mistakes before they become habits.
- Watch video tutorials alongside written instructions. Written guides describe the steps; video shows the motion, and both together are more useful than either alone.
- Practice in varied conditions — wet rope, wearing gloves, in low light. Real-world knot-tying rarely happens in ideal conditions.
- Focus on two or three knots first rather than trying to learn everything at once. Mastery of a few reliable knots beats superficial familiarity with a dozen.
- Test your knots by loading them before trusting them. Learning to recognize a failed knot is as important as tying a good one.
- Practice tying without looking once you’ve learned the basic motion. In poor visibility or an emergency, muscle memory is what you have to work with.
The payoff for putting in this practice time is real: you’ll move faster, make fewer mistakes, and trust your knots in situations where that trust actually matters.
Recommended Fishing Gear
Garmin GPSMAP 79s Marine GPS – $280.84
Rugged marine GPS handheld that floats in water.
Garmin inReach Mini 2 – $249.99
Compact satellite communicator for safety on the water.
As an Amazon Associate, we earn from qualifying purchases.


Stay in the loop
Get the latest fishing tales journal updates delivered to your inbox.