How to Put a Hook on a Fishing Line
Hook attachment has gotten mystified by fishing YouTube and gear forums alike. As someone who has spent years tying hooks in boats, on muddy banks, and in the dark at 5 AM with cold fingers, I learned everything there is to know about getting a hook secured to a line reliably. Today, I will share it all with you.
But what is a fishing knot, really? In essence, it’s just a series of wraps and tucks that use friction to hold under load. But it’s much more than that — a properly tied knot retains nearly 100% of line strength, while a poor one can snap at half that, costing you the fish of a lifetime right at the boat.
Materials Needed
- Fishing line
- Fishing hook
- Fishing knots (Palomar, Clinch, or Improved Clinch Knot)
- Scissors or line cutters
- Optional: Fishing swivel
Choosing the Right Hook
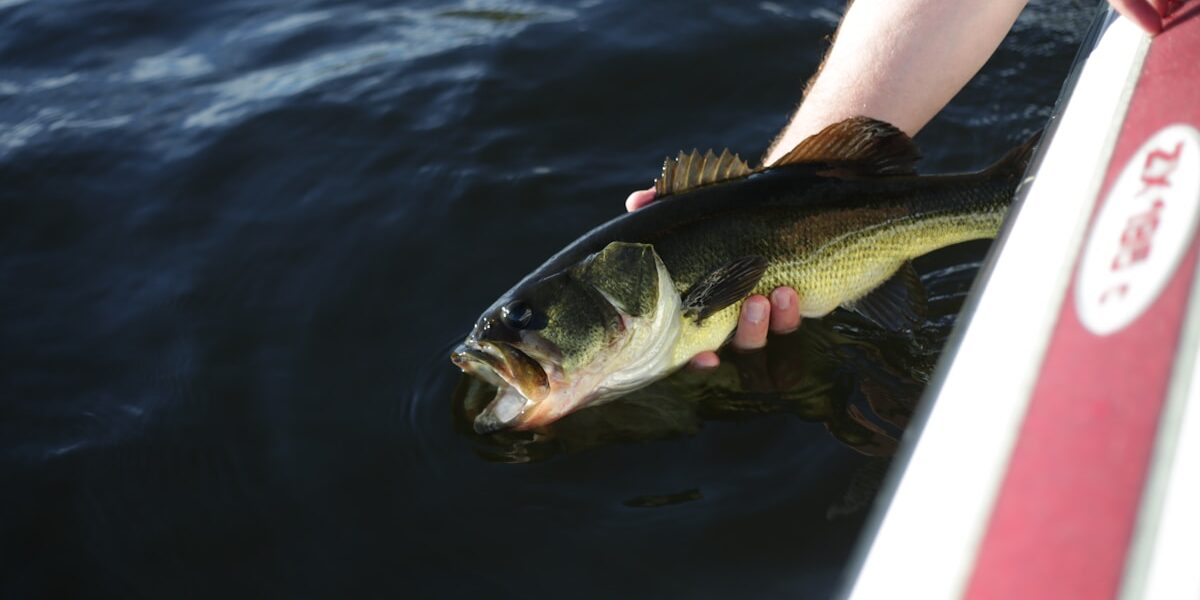
Hooks come in various shapes and sizes, each suited to different fish species. I’m apparently someone who keeps three different hook sizes rigged on separate rods at all times — size 8 for panfish, 1/0 for bass, 4/0 for catfish — and this system works for me while digging through a single tackle box to find the right hook never does. Match the hook to the bait and intended catch and you’re already ahead of most anglers on the water.
Selecting the Line and Knot
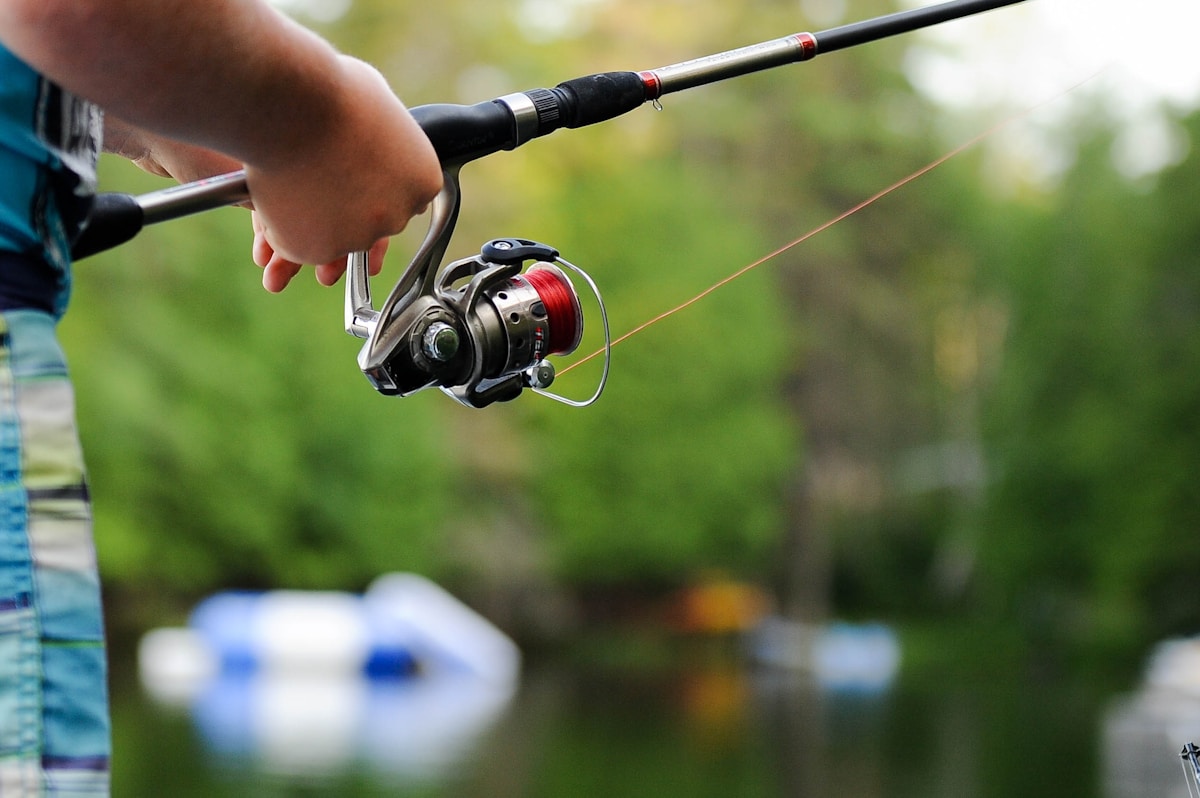
Your choice of fishing line changes which knot you should reach for. Monofilament is popular for its stretch and flexibility. Braided lines offer superior strength with less diameter. That’s what makes knot selection endearing to us anglers — the right pairing of line to knot is almost like a handshake, one built to hold under real pressure.
The Palomar Knot is reliable for braided line. The Improved Clinch Knot works well for monofilament. Learn both and you’re prepared for most situations.
Step 1: Preparing the Hook
Start by ensuring your fishing hook is sharp. Frustrated by missed strikes on what felt like solid hits, I started checking hook sharpness by dragging the point across my thumbnail — a sharp hook catches, a dull one slides. Keep a hook sharpener in your tackle box. Examine each hook for rust or damage before tying it on; a compromised hook costs you fish.
Step 2: Cutting the Fishing Line
Cut a sufficient length of line — about 12 to 18 inches of working line gives you room to tie and retie without running short. Probably should have led with this tip, honestly, because more beginners mess up knot tying by having too little line to work with than for any other reason. Use line cutters for clean cuts; frayed line ends are harder to thread through hook eyes and weaken knots.
Step 3: Tying the Knot
Using the Palomar Knot
- Double over the line, creating a few inches of loop.
- Pass the loop through the hook’s eye.
- Tie a loose overhead knot with the doubled line.
- Pass the hook through the loop of the knot.
- Moisten and pull both ends to tighten the knot securely.
Using the Improved Clinch Knot
- Thread the line through the hook’s eye and wrap it around the main line 5 to 7 times.
- Pass the end of the line back through the loop nearest the hook.
- Bring it through the large loop that formed.
- Moisten and tighten by pulling the main line and the end simultaneously.
Whichever knot you select, moisten it before cinching — dry knots generate heat from friction that can weaken monofilament. Pull firmly to seat the knot fully; a loose knot will slip under the first serious load.
Step 4: Trimming Excess Line
After securing your knot, trim the tag end to about 1/8 inch. Leave just enough to prevent the knot from slipping back through itself. Trim too close and the knot can unravel; leave too much and the dangling tag end can spook wary fish or tangle in the guides.
Step 5: Attaching a Swivel (Optional)
If you’re using a swivel, attach it between line and hook using the same knot methods. A swivel prevents line twist that accumulates with spinning lures and makes hook changes faster when you’re covering water quickly — swap the hook at the swivel rather than retying to the main line each time.
Testing the Setup
Before casting, give a firm tug on the line to confirm everything is seated. Check the tightness of the knot and confirm the hook eye hasn’t rolled or twisted. This five-second check has saved me from losing fish on a freshly tied rig more times than I want to count.
Practical Tips for Success
- Use good lighting and a steady surface for knot tying — a headlamp and your knee work fine in a boat.
- Practice knots at home until you can tie them in the dark; muscle memory is what you want on the water.
- Bring extra hooks and a spool of line whenever you fish.
- Retie after any hard snag, fish caught, or suspected nick in the line — the few seconds it takes is always worth it.
Mastering how to put a hook on a fishing line is one of those foundational skills that makes everything else in fishing more enjoyable. Once you have it, you stop losing gear and start catching more fish — and that’s what this is all about.
Recommended Fishing Gear
Garmin GPSMAP 79s Marine GPS – $280.84
Rugged marine GPS handheld that floats in water.
Garmin inReach Mini 2 – $249.99
Compact satellite communicator for safety on the water.
As an Amazon Associate, we earn from qualifying purchases.


Stay in the loop
Get the latest fishing tales journal updates delivered to your inbox.