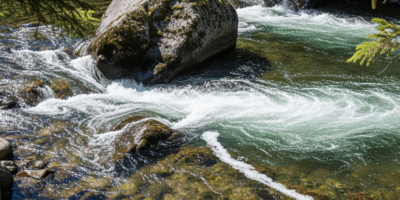
The drop shot rig has been around long enough that most bass anglers know what it is, but genuinely understanding why it works and when to use it over other presentations is a different matter. It came out of Japanese tournament fishing in the 1990s and crossed to North American tournament circuits in the early 2000s, where it proceeded to make serious money for the anglers who adopted it early. I started using it regularly after watching a friend on a clear California reservoir absolutely destroy a tough mid-summer bite with a drop shot while the rest of the boat struggled on more conventional presentations. The logic became obvious once I understood it. Here’s the full breakdown.
Why the Rig Works the Way It Does
The drop shot places the hook above the weight rather than below it, which is the opposite of almost every other bottom-fishing rig. The weight sits on the bottom; the hook and bait float above at whatever distance you’ve left in the leader. This keeps the bait suspended in the water column at a precise, consistent depth — hovering right at the level where fish are holding — with no weight on the bait itself affecting its movement.
A soft plastic worm nose-hooked on a drop shot moves from the slightest rod tip movement. The bait shakes, it quivers, it rotates in place — and it does all of this while staying in the strike zone rather than swinging through it. That combination of precise placement and subtle action is what makes the rig effective on pressured fish that have seen conventional presentations too many times.
What You Need to Build One
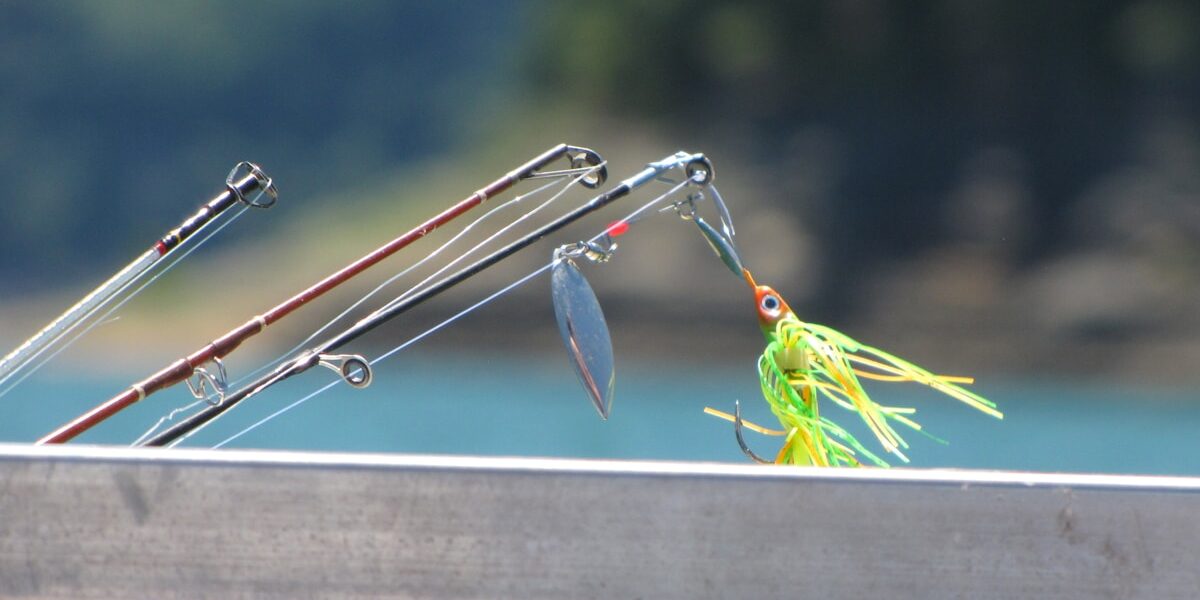
- Hook: A size 1 or 1/0 drop shot hook with a wide gap and a turned-up eye. The turned-up eye is important — it’s what allows the Palomar knot to position the hook facing upward. Using a standard hook with a straight eye produces a rig that doesn’t present correctly. VMC, Owner, and Gamakatsu all make quality drop shot hooks.
- Weight: Drop shot weights are designed to be cylindrical or teardrop-shaped, with a clip or loop at the top for the line rather than a hole through the middle. The clip design allows the weight to break free if it snags, saving the hook and bait above. Use the lightest weight that keeps you in contact with the bottom — typically 3/16 to 5/16 ounce in calm water, heavier in current or deep water.
- Line: Fluorocarbon is the standard for drop shot work. Six to ten-pound test for most applications — lighter in extremely clear water, heavier when fishing near structure where you might need to pull a fish out. Fluoro sinks, it’s less visible than mono, and its stiffness helps maintain the rig’s shape.
- Bait: Finesse worms in the 4 to 6-inch range are the classic choice. Roboworm and Berkley Gulp work well; any finesse worm with good tail action does the job. Shad-profile baits work when fish are keyed on baitfish. Crayfish imitations work when fish are feeding on bottom. Natural colors — green pumpkin, watermelon, brown — in clear water; brighter colors in stained water.
Tying the Rig
Tie the Palomar knot with a loop of line that’s long enough to pass over the hook after the knot is cinched — this is the step people get wrong most often. Form a loop of about 6 inches of doubled line, pass it through the eye, tie an overhand knot in the doubled line above the eye, then pass the loop over the entire hook before pulling the standing line and tag end to tighten. The hook should be riding with the point up when the rig is complete.
Leave a tag end of 12 to 18 inches below the knot for the weight. Shorter leaders (8 to 10 inches) keep the bait tight to the bottom where fish are hugging structure; longer leaders (18 to 24 inches) present the bait higher in the water column for fish that are suspended. Attach the weight to the tag end using the line clip.
Fishing It
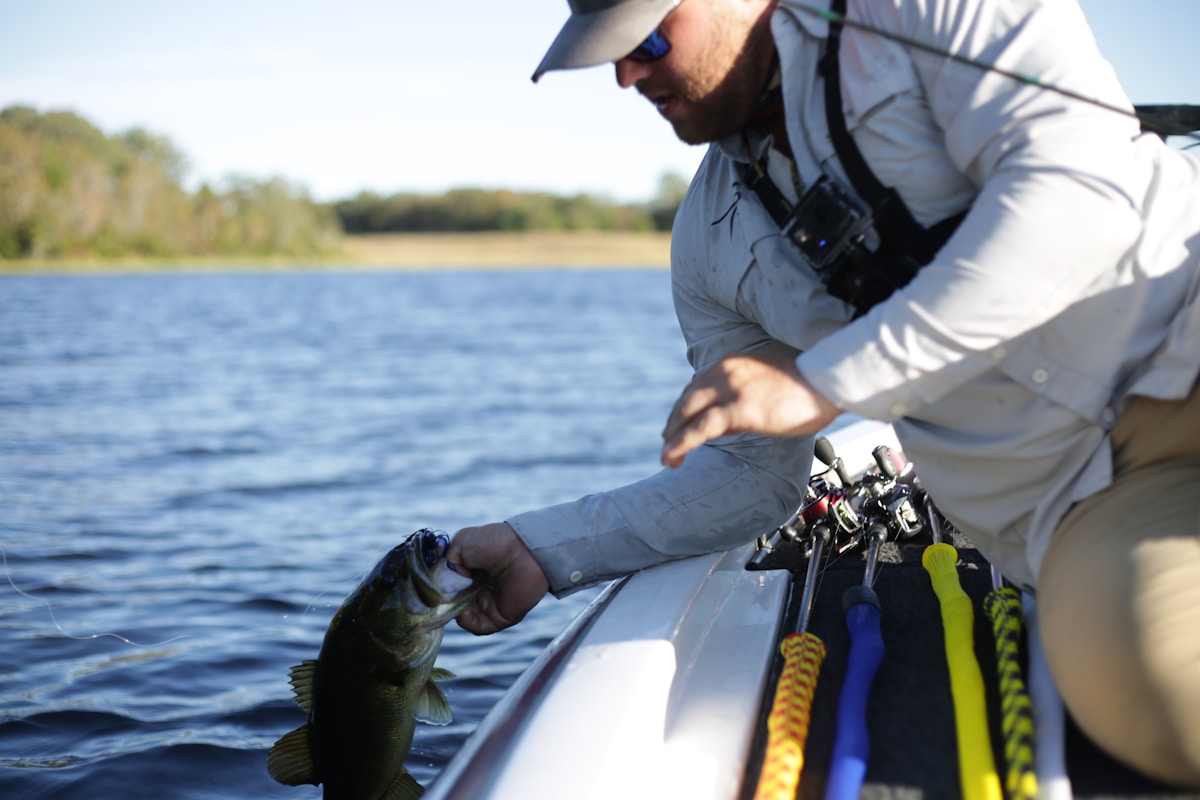
Vertical presentation from a boat over known structure — submerged points, brush piles, dock pilings, creek channel bends — is the primary technique. Lower the rig to the bottom, maintain light contact with the weight, and shake the rod tip with small, subtle movements to animate the bait. You don’t need aggressive sweeps; the bait does its work with minimal input. Stay in place over productive areas rather than moving constantly.
Casting and dragging works when you want to cover water. Cast the rig out, let the weight hit bottom, then drag slowly while periodically shaking the rod. The presentation is slower than most other methods, which is the point — the bait stays in front of fish for longer, and slower presentations often trigger fish that won’t react to faster-moving lures.
In deeper water (30 feet and beyond), the drop shot excels partly because most other bottom presentations become difficult to control at depth. The weight-down, bait-up configuration maintains the rig’s presentation regardless of depth, and fluorocarbon’s low stretch transmits sensitivity even at long distances.
When to Use It
Clear water, fishing pressure, post-frontal conditions, and summer heat that pushes fish deep and makes them lethargic are all conditions where the drop shot produces when other presentations don’t. I’m apparently a drop shot person in tough-bite situations and that rig works for me when standard retrieves come up empty. The finesse approach is less intrusive in clear water, and the rig’s ability to stay in the strike zone without moving out of it gives fish time to commit that a moving lure doesn’t allow.
One more thing: the drop shot works in saltwater too. Flounder respond extremely well to a drop shot presentation with a shrimp or minnow imitation near the bottom. Weakfish and speckled trout in clear estuaries are effective drop shot targets. The rig’s logic is universal — keeping bait suspended above the bottom in the strike zone applies to any bottom-feeding predator in any water type.
Common Problems Worth Knowing
Too-heavy a weight kills the subtlety of the presentation and produces a dead feel that makes detecting soft bites harder. If your bait isn’t moving naturally, the weight is probably too heavy for the conditions. Conversely, too-light a weight in current means the rig drifts out of position and you lose the precise placement that makes the rig work.
The Palomar knot needs to be tied correctly and cinched down tight before fishing. Check it after every fish and after every significant snag. Fluorocarbon under repeated stress can develop weak spots near the knot that aren’t visible but result in line failures at exactly the wrong moment. Retying periodically is good practice regardless of whether you see visible damage.
Recommended Fishing Gear
Garmin GPSMAP 79s Marine GPS – $280.84
Rugged marine GPS handheld that floats in water.
Garmin inReach Mini 2 – $249.99
Compact satellite communicator for safety on the water.
As an Amazon Associate, we earn from qualifying purchases.

Stay in the loop
Get the latest fishing tales journal updates delivered to your inbox.