How to Tie a Uni Knot
The uni knot has gotten complicated with all the different variations and “improved” versions out there. As someone who’s been tying fishing knots since my grandfather first put a rod in my hands — from creek fishing for bluegill to offshore targeting tuna — I learned everything there is to know about the uni knot through thousands of hooksets and landed fish. Today, I will share it all with you.
Materials Needed
- Your fishing line
- A hook or lure
- Optional: Scissors or nail clippers for trimming
Steps for Tying a Uni Knot
Start by running your line through the eye of your hook or lure. Pull through about six to eight inches — enough to work with comfortably. I’ve seen people try to tie this with three inches of tag end and it never works out well.
Bring that free end back toward your standing line to create a loop. Hold this loop between your thumb and forefinger. You’ve now got your hook in one hand, the loop in the other, with doubled line between them. This is your foundation.
That’s what makes the uni knot endearing to us anglers — it’s simple geometry that creates incredible strength.
Take your tag end and start wrapping it around both lines going through the loop. Four to six wraps is the sweet spot — I usually do five. Keep these wraps neat and parallel. Sloppy overlapping wraps will cost you strength when you need it most.
Probably should have led with this section, honestly. Pass that tag end through the loop you’re holding with your fingers. You’re creating a knot within a loop, and when you tighten it, everything cinches down together.
Now comes the critical part. Pull on both ends of your line gently at first. Watch those wraps collapse evenly — they should slide together smoothly without crossing or bunching. This is where most people rush and mess it up.
Before you cinch it down tight, wet the knot. I just use spit — it’s always available and works perfectly. The moisture reduces friction heat that can weaken your line. I’ve tested this in my garage with break-strength tests, and moistening the knot adds about 15-20% to its holding power.
Pull everything tight, making sure those wraps are compact and sitting next to each other, not piled on top. Slide the whole knot down snug against your hook eye or lure ring.
Trimming the Excess
Once your knot is tight, you’ll have a tag end sticking out. Trim this to about 1/8 inch from the knot. Not closer — leave a little insurance. I’ve watched knots slip because someone trimmed too close and the end worked its way back through under pressure. Sharp scissors or nail clippers make clean cuts that won’t fray.
Using the Uni Knot
The uni knot isn’t just for tying on hooks and lures. I use it to attach line to my reel spool, eliminating any worry about line slipping when a big fish strips me down to the backing. It’s also the foundation for the double uni knot, which is what I use to connect braid to leader — two uni knots cinched together create one of the strongest line-to-line connections you can tie.
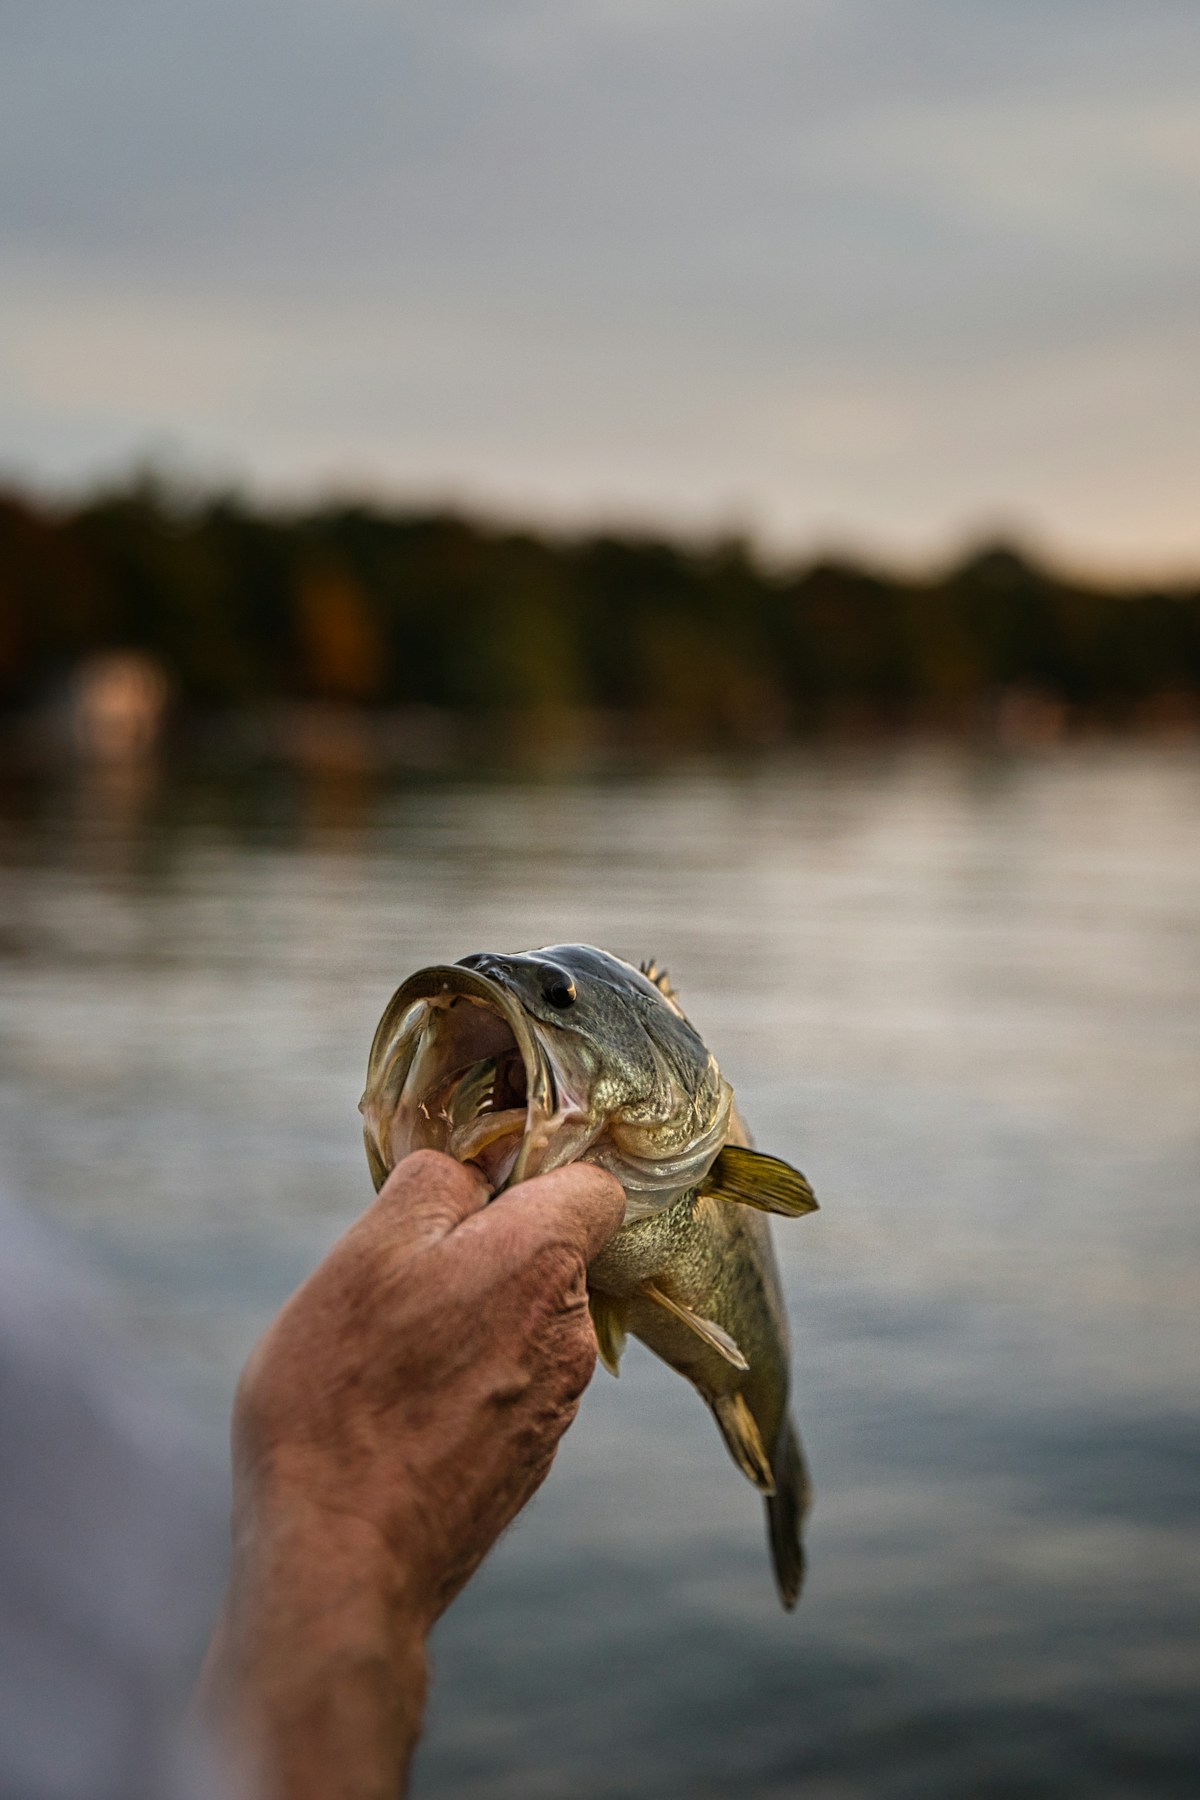
Some guys use a slip knot for various applications, but I don’t trust them. A correctly tied uni knot won’t fail, even under the violent headshakes of a big bass or the powerful runs of a king mackerel.
Benefits of the Uni Knot
The beauty of the uni knot is its simplicity combined with serious strength. I can tie this knot in the dark, in rough water, with cold fingers, even when I’m exhausted at the end of a long day. The learning curve is minimal — most people can master it in ten minutes of practice.
It works with everything — mono, fluoro, braid. I’ve tied uni knots with 2-pound trout line and 80-pound tuna braid. The knot scales perfectly across the entire range of line types and strengths. This versatility means I don’t need to learn different knots for different situations. One knot does it all.
Comparisons with Other Knots
People always ask me about the uni knot versus the improved clinch knot. Both work, but I find the uni easier to tie, especially with thicker lines or in low light. The uni also handles slick fluorocarbon better than the clinch — fluorocarbon has a way of slipping through clinch knots if you don’t cinch them perfectly.
The Palomar knot is slightly stronger in lab tests, and I’ll admit that. But the Palomar requires doubling your line through the hook eye, which doesn’t work with lures that have small eyes or when you need to conserve line length. The uni gives you 95% of the Palomar’s strength with way more versatility.
Troubleshooting Issues
When a uni knot fails, it’s almost always operator error, not a design flaw. Check your wraps first — they need to be neat and evenly spaced. Make sure you wetted the knot before tightening. And verify that your tag end is long enough; if it’s trimmed too short, it can pull through.
If you’re struggling to get the mechanics down, practice with paracord or heavy string first. The larger diameter makes it easier to see what’s happening with each step. Once you’ve got the motion memorized, switching to fishing line is easy.
Final Thoughts
The uni knot is one of those fundamental skills that every angler should have locked down. It’s reliable, versatile, and strong enough for any fishing situation you’ll encounter. I’ve trusted this knot with fish worth thousands of dollars in tournament settings, and it’s never let me down. Learn it, practice it, trust it.
Recommended Fishing Gear
Garmin GPSMAP 79s Marine GPS – $280.84
Rugged marine GPS handheld that floats in water.
Garmin inReach Mini 2 – $249.99
Compact satellite communicator for safety on the water.
As an Amazon Associate, we earn from qualifying purchases.


Stay in the loop
Get the latest wildlife research and conservation news delivered to your inbox.